
Why Cluttered Shelves Usually Come Down to One Fixable Problem
Shelves lie. A surface that should look curated ends up looking chaotic, and most people blame the stuff on it — too many items, wrong colors, wrong mix. But that’s almost never the real issue.

The actual culprit, almost every single time, is flat. Everything sitting at the exact same height creates visual noise your brain can’t resolve. There’s no hierarchy, no place for the eye to land, no sense that any object is more important than another. It all just… competes. And when everything competes, nothing wins — the whole shelf reads as clutter even if each individual piece is genuinely nice.
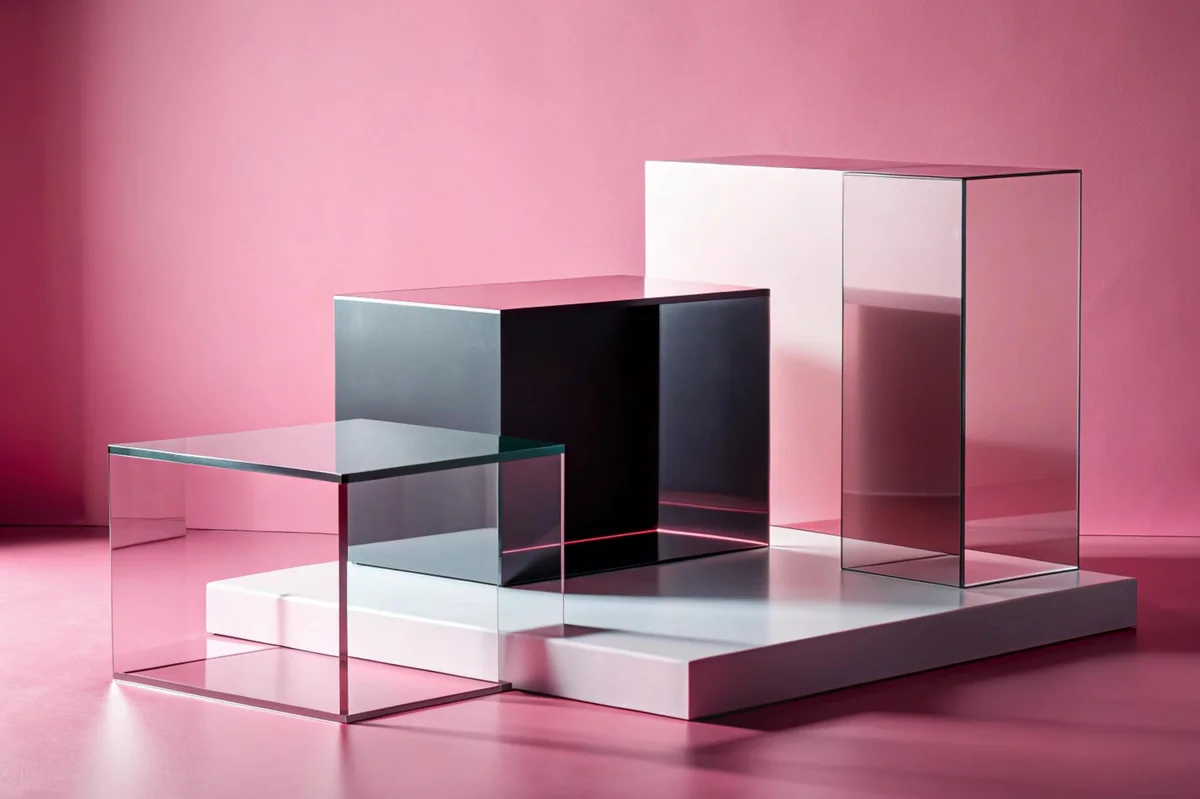
This is exactly why acrylic display risers exist, and why they work so well once you try them. They’re not decorative in themselves — they’re structural. A riser pulls one or two items up off the baseline, instantly creating a tiered arrangement that your brain reads as intentional. Organized. Considered. The difference between a shelf that looks “done” versus one that looks dumped.
What makes acrylic specifically useful here — versus wood risers, fabric-covered platforms, or those cheap black plastic stands — is the transparency. A frosted white wood riser has its own visual weight; it becomes part of the display whether you want it to or not. Clear acrylic disappears. The objects float. You get the height benefit without adding another visual element to manage (which matters a lot when you’re already working with a crowded shelf).
Small detail, but worth knowing: standard acrylic display risers typically come in heights ranging from about 1 inch up to 6 inches, so you can actually build a proper tiered layout with multiple levels rather than just “one thing slightly higher than the rest.”
So the fix isn’t editing your collection down to three items and calling it minimalism. It’s giving your existing items different ground to stand on. That’s it. That’s basically the whole solution.
Embarrassingly simple. Genuinely effective.
What Acrylic Display Risers Actually Do for Your Shelf Layout
Here’s what most people miss: risers don’t just add height. They create relationships between objects — and that’s the actual job they’re doing when your shelf finally starts to look like something intentional instead of just… stuff.

Think about what happens when every item sits at the same elevation. Your eye moves across the shelf in a flat horizontal line and then stops. Nothing pulls it in. But stack a few acrylic display risers at different heights — say a 2-inch, a 4-inch, and a 6-inch — and suddenly you’ve got a Z-axis to work with. Your eye travels up, across, down, and back. That’s the difference between a shelf that reads as “collected” versus one that reads as “dumped here.”
Genuinely underrated function.
And the layout flexibility is real. You’re not locked into a fixed arrangement once you drop $15-30 on a set of risers. Slide them around, swap the heights, rotate the whole thing on a Tuesday because you’re bored. Clear acrylic display risers don’t commit you to anything — they’re modular in a way that built-in shelving obviously isn’t. (This matters more than people expect, especially if you rotate seasonal items or add to your collection regularly.)
There’s also a practical depth issue that risers quietly solve. Deep shelves — the 12-inch or 16-inch kind — swallow small objects whole. Something sitting at the back just disappears. A riser brings that item forward visually, even if it’s technically still in the back row, because the added height puts it above the sightline clutter in front of it. It’s a perspective trick, basically. Works every time.
What they’re not doing: hiding bad curation. If you’ve got 40 items crammed into a space meant for 15, acrylic display risers will organize the chaos somewhat — but they won’t fix a fundamental overcrowding problem. Use them to elevate a considered arrangement, not as a band-aid for a shelf that needs editing first.
Blunt, but fair.
How to Choose the Right Acrylic Riser for Your Setup
Size first. That sounds obvious, but it’s the thing people get wrong most often — they eyeball it, think “yeah that’ll work,” and end up with a riser that’s either comically oversized or so narrow the item teeters on the edge. Measure your object’s footprint before you buy anything. A standard single-step riser runs around 4 to 5 inches deep, which is fine for most figurines and small collectibles, but if you’re displaying something like a wide-base trophy or a chunky Funko Pop with accessories, you want something with a 6-inch or deeper platform.
Height is trickier. Most people default to a single-tier riser and call it done, but think about what’s sitting in front of it. If the item in the front row is already 8 inches tall, a 2-inch riser behind it accomplishes basically nothing. You need enough height differential to actually clear the sightline — usually at least 3 to 4 inches of lift above the tallest item in the row ahead.
Then there’s the weight question. Not glamorous, but important. Acrylic display risers are strong — cast acrylic especially — but cheap injection-molded versions (the kind that come in multipacks for under $15) have a tendency to bow slightly under sustained pressure. If you’re displaying anything genuinely heavy, like a resin statue or a ceramic piece, look for risers listed at 3mm thickness or above, ideally with solid rather than hollow construction.
So what about style? Clear is almost always the right call. It disappears behind the object, which is the whole point. Frosted or tinted acrylic can look sharp in a themed display — all-white or all-black setups especially — but it draws attention to itself, and sometimes that competes with what you’re actually trying to show off.
- Match riser depth to the item’s footprint, not the shelf depth
- Height differential matters more than absolute height
- Check thickness ratings for anything over 2 lbs
- Clear acrylic suits most setups; tinted works only in themed arrangements
And honestly? Buy one before you buy ten. Test it in your actual space, under your actual lighting. What looks great in a product photo sometimes reads completely different on a real shelf.
Best Ways to Arrange Acrylic Display Risers Without Making Things Worse
Arrangement is where most people quietly go wrong. They buy decent acrylic display risers, set them up in five minutes, and then wonder why the whole thing looks cluttered instead of curated. The risers aren’t the problem — the logic behind the layout is.
Start with an odd number of items. Three, five, seven. Even numbers feel symmetrical in a way that reads as flat, almost corporate. Odd groupings create natural visual movement — your eye travels between the pieces instead of stopping dead center. And vary the heights deliberately, not randomly. A staircase pattern (low left, mid center, high right, or vice versa) is a reliable starting point, but a clustered arrangement — where two items share a height and one breaks away — can feel more dynamic once you’re comfortable with the basics.
Depth layering is underused. Most people arrange risers in a single line across the shelf. Try pushing some pieces toward the back and pulling others forward instead. Acrylic display risers are transparent, so the ones in the back don’t disappear — they read as intentionally set back, which adds actual dimension. (This works especially well in display cases where the viewing angle is fixed and frontal.)
Leave breathing room. Seriously. The instinct is to fill every inch — resist it. Empty space between groups isn’t wasted space; it’s what makes the display readable instead of overwhelming.
A few things worth watching for:
- Don’t graduate heights in one unbroken line — it looks like a staircase, not a display
- Avoid clustering all your tallest risers on one side; it makes the arrangement feel lopsided
- If two items are similar in size, give them different riser heights — at least a 2-inch differential — so they don’t compete
- Step back and look from the actual viewing distance, not from six inches away
But the real test — the one that matters — is stepping back about four to five feet and squinting slightly. If your eye knows where to go first, second, and third without thinking about it, the arrangement is working. If everything demands attention at once? Pull one riser out. Less is almost always more.
Conclusion
Acrylic display risers are one of those genuinely simple tools that do exactly what they promise — but only when you stop overcrowding them. The arrangement decisions matter more than the risers themselves.
Get the height variation right, leave actual breathing room, and step back far enough to see what a real viewer sees. That’s it.
If your display still feels cluttered after all that? Remove something. You’ll be surprised how often one less item is the answer you were looking for.
Frequently Asked Questions
Q: What are acrylic display risers actually used for?
A: Acrylic display risers lift objects to different heights so your eye moves through an arrangement instead of landing flat on a single plane — it’s the difference between a display that looks intentional and one that looks like a pile. People use them for product displays, jewelry, collectibles, retail shelving, and home décor. Basically anything that benefits from a little elevation and visual layering.
Q: How much do acrylic display risers typically cost?
A: A basic set of three or four risers in graduated heights runs anywhere from $15 to $40 depending on thickness and clarity. Thicker acrylic (around 5mm or higher) costs more but won’t bow under heavier items. Cheap thin sets under $12 tend to scratch fast and look cloudy within a few months.
Q: How do I clean acrylic display risers without scratching them?
A: Skip paper towels — they’re more abrasive than they look. Use a soft microfiber cloth with a tiny amount of dish soap and water, or a dedicated acrylic cleaner like Novus Plastic Polish. Never use Windex or anything ammonia-based; it hazes the surface over time and you can’t undo that damage.
Q: Can acrylic display risers hold heavy items like electronics or trophies?
A: It depends entirely on the thickness of the acrylic. Standard 3mm risers are fine for lightweight items under a kilogram or so, but for anything heavier you want at least 8–10mm stock. If you’re unsure, check the weight rating — reputable suppliers (including OEM-focused ones like Hile Display who produce custom acrylic pieces for retail clients) will list load capacity in the product specs.
Q: Why do my acrylic display risers look cloudy or yellowed?
A: Two culprits: wrong cleaning products or prolonged UV exposure. Ammonia-based cleaners cause haziness almost immediately, and direct sunlight will yellow lower-grade acrylic within a year. Opting for UV-resistant cast acrylic instead of extruded acrylic costs a bit more upfront but stays crystal clear significantly longer.
Q: How do I choose the right heights for acrylic display risers in a multi-level arrangement?
A: A rough rule that actually works: your tallest riser should be roughly double the height of your shortest one, with a mid-height option sitting somewhere in between — something like 2 inches, 4 inches, and 7 inches creates a natural diagonal flow. The mistake most people make is choosing risers that are too close in height, which flattens the whole effect and defeats the purpose of having them at all.
Q: Is it worth buying acrylic display risers over wood or metal alternatives?
A: Acrylic display risers win on one specific thing: visual invisibility. The clear surface doesn’t compete with whatever you’re displaying, which makes the object itself the focus rather than the riser. Wood adds warmth but draws the eye; metal adds weight and cost. For jewelry, cosmetics, or anything where the product needs to pop on its own, acrylic is the smarter call.
Q: How long do acrylic display risers last with regular use?
A: With proper care — right cleaning products, no direct sun, no heavy scratching — a decent set should last five or more years without looking rough. The ones that fail early are almost always either too thin for the load they’re carrying or cleaned repeatedly with the wrong products. Buy once at a reasonable quality level and they’ll outlast most of the displays you build around them. Related reference: hiledisplay.com and Homepage.